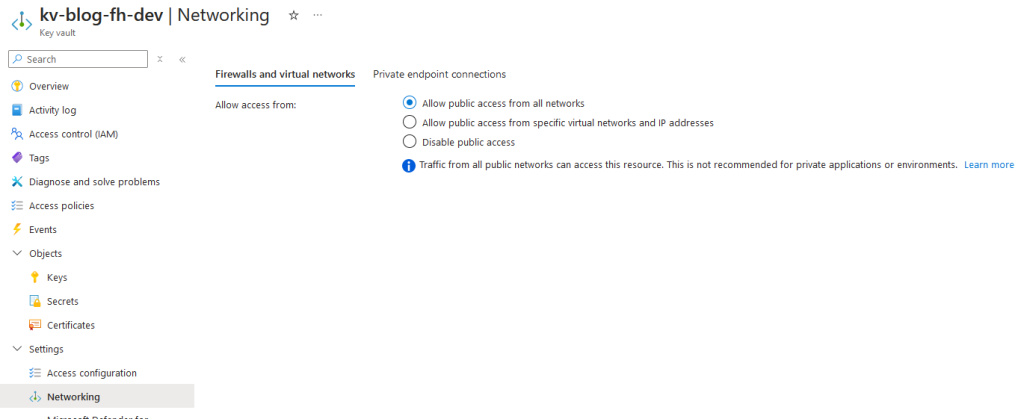
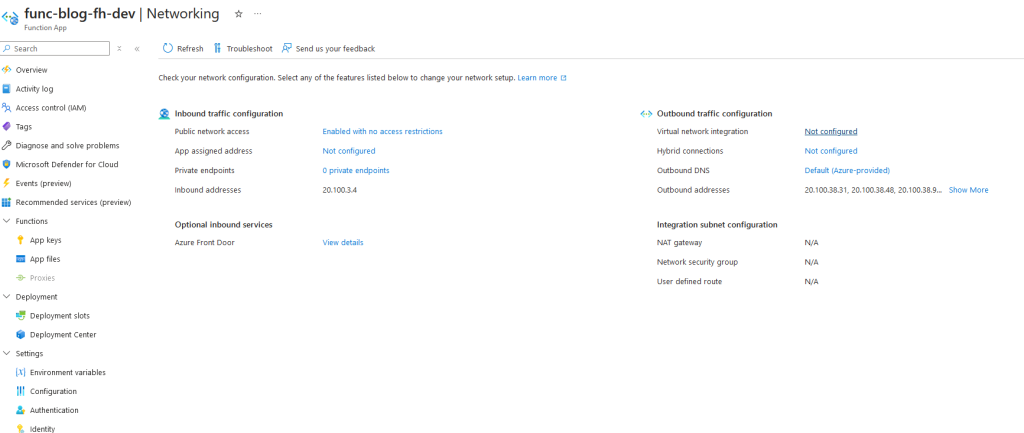
Azure offers a flexible and powerful platform for deploying cloud applications, but with great power comes great responsibility 😉 A lot of Azure services are publicly accessible by default, which can leave you open to various security threats, and performing additional hardening is recommended.
A prime example is Key Vault. It’s easy to think it’s only accessible from your own tenant since it hold secrets, but it’s actually accessible from the internet by default. To keep it (and other services) safe, you can connect everything to an Azure Virtual Network. That way, you can disable public access or specify specific networks in your firewalls.
That the service is publicly accessible does not mean that it is unsecure. It still requires that you are able to authenticate to the service with valid credentials.
Based on your level of security requirements, you have two different options for the configuration process.
Service endpoints
Service endpoints make your resource available for specific subnets in your Azure tenant. The service is still public, but only allow connections from the configured subnets or IP addresses. This is a fast and more secure option than the default configuration, and you can get rid of the dreaded “Allow other azure resources” checkbox on your services.
Currently several different services support service endpoints like:
- Azure Storage
- Azure SQL
- Cosmos
- Service Bus
- Event Hub
- App service
To see the full list go to Azure virtual network service endpoints | Microsoft Learn
Private endpoints
If your requirements are that the service should be taken off the public internet, you need a private endpoint. A private endpoint assigns a private IP address from your subnet to the service you want to expose, and restricts all traffic from the internet. This is the safest option, but requires a bit more configuration especially if you have developers and such that need to access the resource which often is the case.
Setting up your platform
Start off by creating a new vnet, and add subnets for your different services. Keep in mind that some services requires a subnet delegation which makes the subnet unavailable to other types of resources, so it is a good practice to create separate subnets for your different workloads and/or groups of services.
You can start off by creating multiple subnets for your resources that you plan to establish as shown below.

When the subnets are created, navigate to the resource that you want to restrict access to. Let’s assume this is a key vault, and from the networking menu in the key vault you will see three different options for public access.
Allow public access from all networks (default option)
Allow public access from specific virtual networks and IP addresses (requires service endpoints)
Disable public access (requires private endpoints)

To create a service endpoint go to the networking section on the key vault and add a virtual network after you have selected the allow public access from specific vnets, as shown below.

In the bottom section we can see that we have established a service endpoint with the func-subnet where our function app is integrated.
If you have disabled public access and need a private endpoint you should go to the private endpoint tab in the networking section of your key vault and establish a new private endpoint as shown below.
Start off by placing your private endpoint and give it a name.

Choose which service the private endpoint is related to.

Select the subnet where the key vaults private link should be deployed.

Configure a private DNS record. Just go with the defaults.

You now have established a private endpoint, which makes the key vault accessible for other resources from the subnets in the same vnet as the key vault.
Note that you will no longer be able to perform operations on the key vault unless you configure a VPN connection to allow for local access.
So now that you have restricted your key vault, the next step is to configure resources in other subnets. For example, if you want a function app to connect to the key vault, navigate to the networking section of the function app. Under the Virtual Network Integration option, select the subnet you wish to integrate with, and add the function app to it.


After the resource is integrated remember that it has the appropriate RBAC permissions to use the service, and everything should be ready to connect to the other services in your network.
Key Considerations
Subnet Delegation: Some Azure services require dedicated subnets with specific configurations. Plan your subnets accordingly to avoid conflicts.
Access for Developers: If developers or other users need access to resources with private endpoints, ensure that appropriate mechanisms, such as VPN or Azure Bastion, are in place to facilitate connectivity.
And that’s it! You have now taken steps to secure your cloud platform even more. If you are interested in digging into other hardening actions you could implement, take a look at Recommendations for hardening resources – Microsoft Azure Well-Architected Framework | Microsoft Learn
